
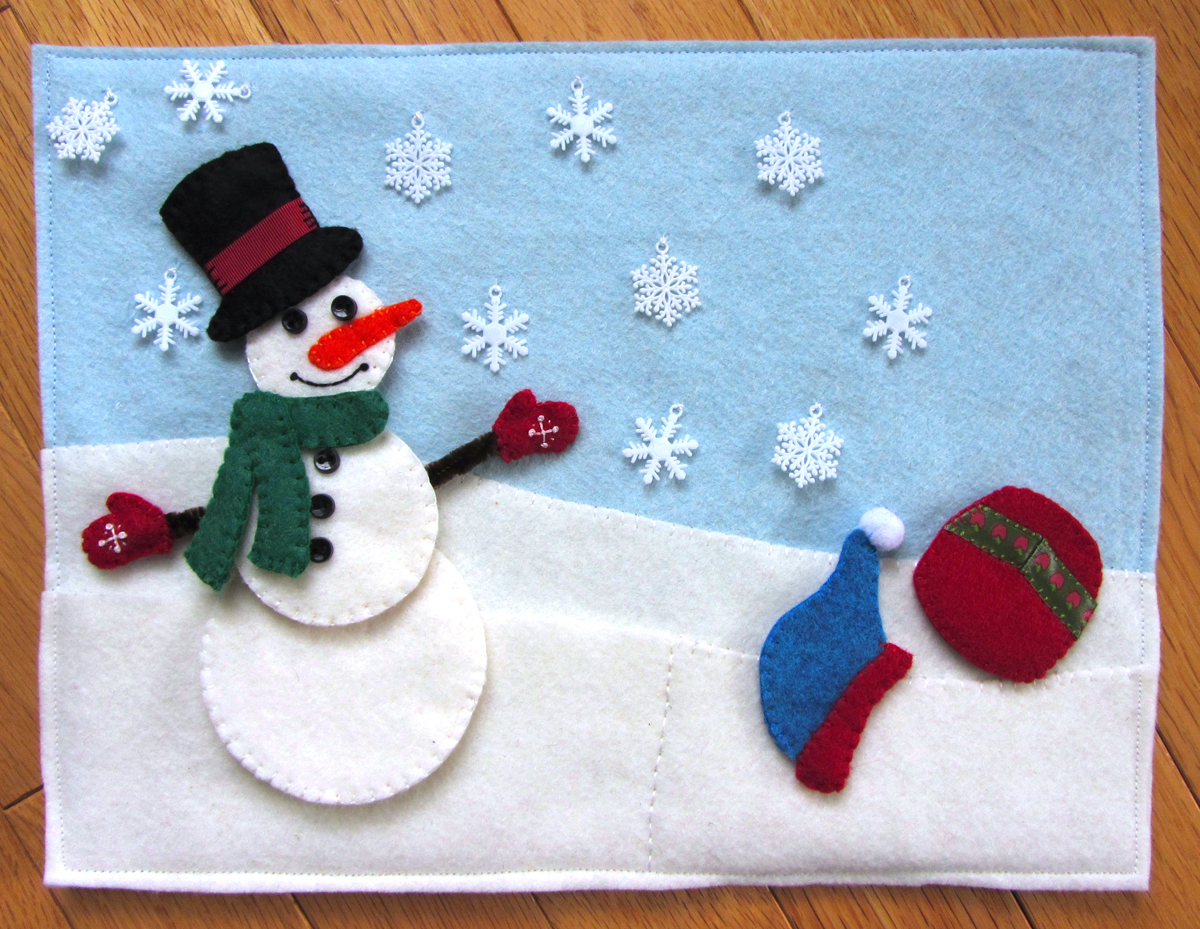
My first highlight is Stephanie from Imagine our life (which is such a cute, cool blog by the way!) Look at this adorable Snowman page:
And this is a really cute little holiday house page:

Another talented creator is Betz White. On her blog she has some fine felt handiwork in winter themes that is not an actual quiet book page, but could be (this is all getting very, very intricate- if you are a "basic-level" quiet book creator (like me), don't worry these aren't meant to make you feel inadequate ;), they just might help get the creative juices flowing.


Natalie Ross has a really cute "Heartfelt Christmas" counting quiet book that is filled with 12 days of Christmas:
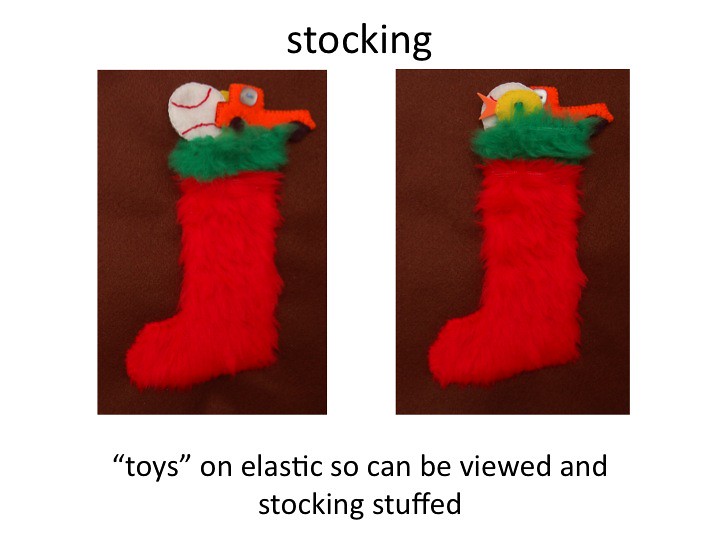
I just love the stocking page above- each stocking is a flap and flips up to expose something in it (like a little mouse):
Here are a couple of her other pages:
And peace on earth:
Or what about a real simple manger scene in a winter quiet book. Something like this one below from Wild Olive's blog:

Or you could make a little brown manger that zipped open (same sort of set up as the ark page), and inside could be felt nativity finger puppets, like these:

Another idea could be to do a "winter coat" page, and create a felt coat that spanned the page (similar to one like the ones in the picture below),

and you could have little activities on the coat like a zipper down the middle, a button on the pocket, a snap on the other pocket, a collar that folded up and down, and even a scarf to tie around:


Or perhaps a matching game of sorts that had to do with ornaments like the ones below or making a tree page where you hang them up:


.jpg)